When I first started paying attention to my gaming setup, I realized that having a good gaming monitor is only part of the experience. A monitor can have a high refresh rate, excellent resolution, and impressive colors, but if it is not set up correctly, I may not get the performance I expected.
In my experience, setting up a gaming monitor correctly is not difficult. The important thing is to take a little time to adjust the physical position, display settings, refresh rate, colors, and gaming features. A few simple changes can make games look smoother, feel more responsive, and become much more comfortable to play.
In this guide, I will explain how I set up a gaming monitor correctly and what I think every gamer should check after connecting a new display.
Choose the Right Position for Your Monitor
The first thing I focus on is where I place the monitor. Before changing any software settings, I make sure the screen is positioned comfortably on my desk.
I prefer keeping the monitor directly in front of me rather than placing it too far to one side. The center of the screen should be around eye level or slightly below it. This helps me maintain a comfortable posture during long gaming sessions.
I also keep the monitor at a reasonable distance from my eyes. The ideal distance depends on the monitor size and resolution, but I generally avoid sitting extremely close to the screen.
If the monitor has an adjustable stand, I use its height and tilt adjustments to find a comfortable viewing position. A good physical setup can make a bigger difference than many people expect.
Connect the Correct Display Cable
After positioning the monitor, I connect it to my gaming PC or console using an appropriate cable.
For gaming, I usually prefer DisplayPort when using a PC because it commonly supports high refresh rates and modern gaming features. HDMI is also an excellent option, especially for gaming consoles and newer monitors.
The important thing is to check what the monitor and graphics card or console support. A monitor may advertise a high refresh rate, but the cable and connected device also need to support the required resolution and refresh rate.
I also make sure the cable is firmly connected. If the screen occasionally goes black or the refresh rate does not appear correctly, checking the cable is one of the first things I would do.
Set the Correct Resolution
Once the monitor is connected, I check the display resolution in the operating system.
On Windows, I open the display settings and select the recommended resolution. I normally choose the monitor’s native resolution because this usually provides the sharpest image.
For example, if I have a 2560 by 1440 monitor, I use 2560 by 1440 instead of lowering the resolution unnecessarily.
Using the native resolution helps text, game interfaces, and images look clearer. However, if a particular game runs poorly at native resolution, I may reduce the resolution or adjust other graphics settings to improve performance.
Enable the Highest Refresh Rate
One of the most important settings for a gaming monitor is the refresh rate.
A monitor might support 144Hz, 165Hz, 240Hz, or even higher refresh rates. However, I do not assume that the highest refresh rate is automatically enabled.
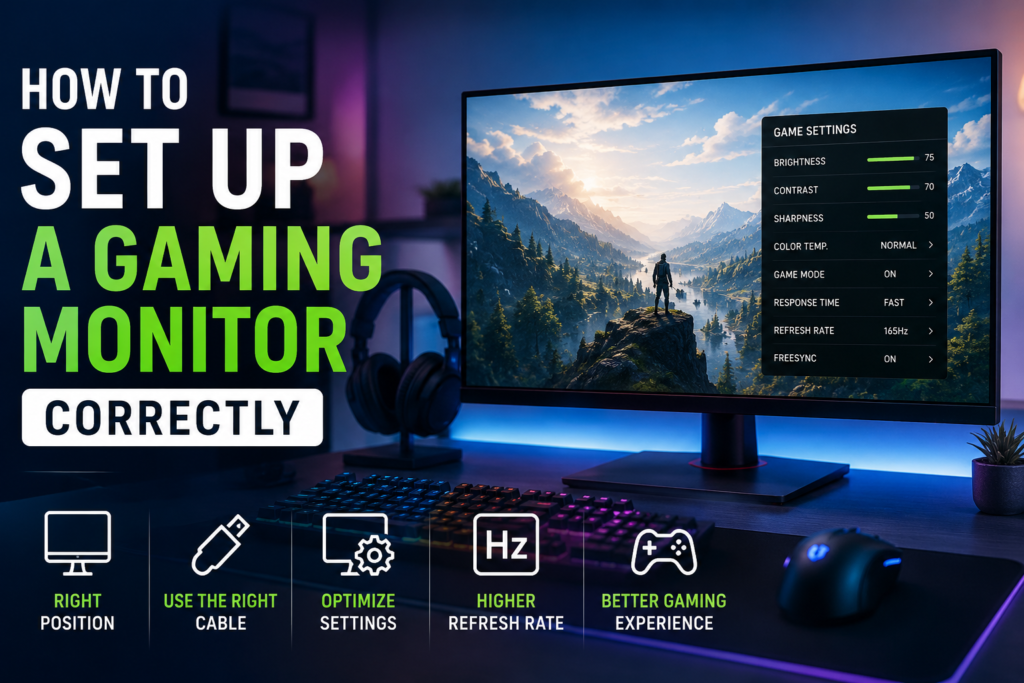
In Windows, I go to the advanced display settings and check the refresh rate. If my monitor supports 165Hz, for example, I make sure Windows is actually using 165Hz.
This is especially important because a monitor can sometimes start at 60Hz even when it supports a much higher refresh rate.
A higher refresh rate can make movement feel smoother, especially in fast games. When I move the camera quickly or track an opponent, the higher refresh rate can make the experience feel more responsive.
Turn On Variable Refresh Rate Features
Modern gaming monitors often include technologies such as AMD FreeSync or NVIDIA G Sync Compatible support.
I recommend checking whether the monitor supports one of these features and enabling it when appropriate.
Variable refresh rate technology helps synchronize the monitor’s refresh rate with the frame rate produced by the graphics card. This can reduce screen tearing and make gameplay appear smoother when the frame rate changes.
The exact setup depends on the monitor and graphics card. I usually check the monitor’s menu first and then configure the corresponding option in the graphics driver software.
If the feature is supported correctly, I generally prefer using it for gaming.
Adjust Brightness and Contrast
After setting the basic display options, I adjust the monitor’s brightness and contrast.
I do not simply turn the brightness all the way up because a very bright screen can become uncomfortable during long gaming sessions. I prefer a brightness level that looks clear without making the screen feel harsh.
The ideal brightness depends on the room. A bright room may require a brighter display, while a dark gaming room usually feels more comfortable with lower brightness.
I also adjust contrast carefully. Too much contrast can make some areas look unnatural or cause details in bright and dark areas to disappear.
My goal is not to make the image look extremely bright or colorful. I want it to look natural and detailed.
Choose the Right Picture Mode
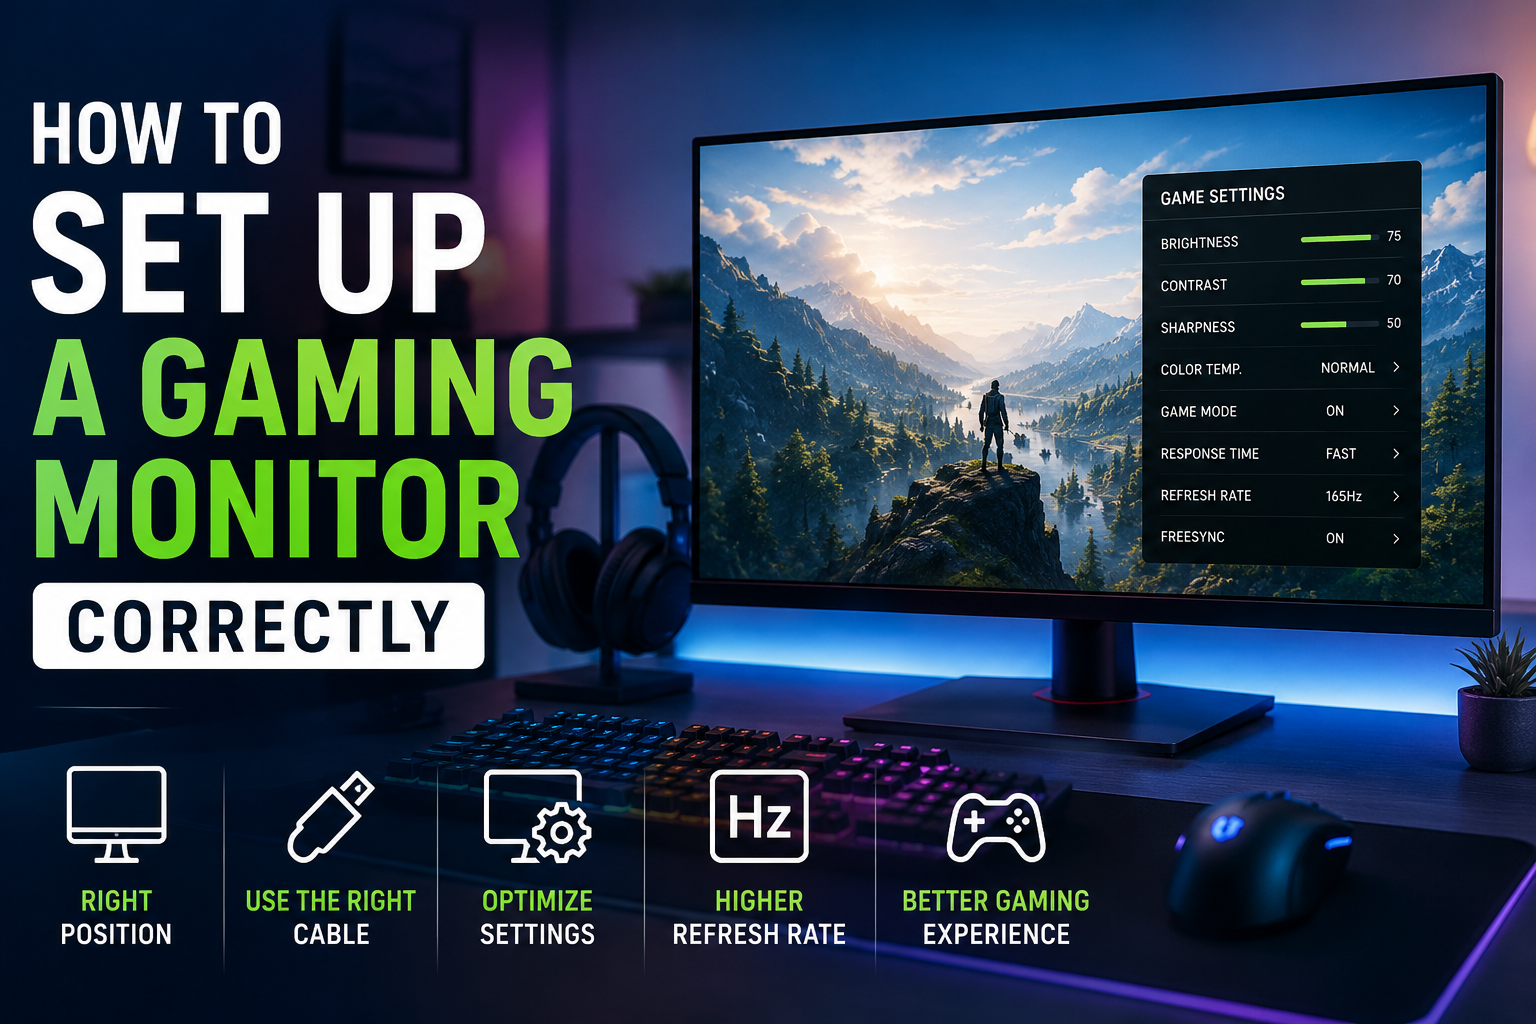
Gaming monitors often come with several picture modes, such as Standard, FPS, Racing, Movie, RTS, and Game modes.
I usually start with the Standard or Game mode and then make manual adjustments.
Some gaming presets increase brightness, sharpness, or color saturation aggressively. While this can make games look more dramatic, I do not always find it comfortable.
If I am playing competitive games, I may choose a gaming preset designed for visibility. For story driven games, I usually prefer a more natural looking image.
There is no single picture mode that is perfect for everyone. I think it is better to experiment and choose the mode that looks good to your eyes.
Adjust Response Time Settings
Many gaming monitors include a response time setting with options such as Standard, Fast, Faster, or similar names.
I usually choose a moderate or recommended setting instead of automatically selecting the fastest option.
The fastest setting can sometimes create visual artifacts called inverse ghosting or overshoot. Instead of making the image cleaner, it can create strange bright trails around moving objects.
I recommend testing the different options with an actual game. If the fastest setting produces distracting artifacts, I reduce it.
The best response time setting is the one that provides a good balance between motion clarity and image quality.
Configure In Game Graphics
Setting up the monitor correctly is only half of the process. I also adjust the graphics settings inside my games.
I first select the monitor’s native resolution and then choose an appropriate refresh rate if the game provides that option.
After that, I adjust settings such as shadows, textures, reflections, anti aliasing, and other graphical features based on my hardware.
For competitive gaming, I usually prioritize a stable frame rate and responsive gameplay over maximum visual quality. For single player games, I am more willing to increase graphical quality.
I think finding a balance is better than simply setting everything to maximum.
Check Your Frame Rate
After configuring everything, I check the frame rate while playing.
A high refresh rate monitor can display more frames, but the gaming PC also needs to produce enough frames to take advantage of it.
For example, if I have a 144Hz monitor but my game consistently runs at 50 frames per second, I will not experience the full benefit of the monitor’s refresh rate.
I therefore use an in game frame counter or another trusted monitoring option to see how my system performs.
If the frame rate is too low, I reduce demanding graphics settings until gameplay becomes smoother.
Adjust Color Settings Carefully
Color settings can significantly change how games look. Some monitors come with overly saturated colors from the factory, so I prefer making small adjustments rather than changing everything dramatically.
I check the monitor’s color temperature and RGB settings if they are available. I usually leave advanced color options alone unless I understand exactly what they do.
For everyday gaming, accurate and comfortable colors are more important to me than extremely vivid colors.
If I use the monitor for photo editing or other color sensitive work, I would take calibration more seriously and consider using a proper calibration tool.
Reduce Unnecessary Eye Strain
Gaming sessions can sometimes last for several hours, so comfort is important to me.
I adjust the monitor brightness according to the room and avoid playing in complete darkness with an extremely bright screen.
I also make sure the monitor is positioned so that I am not constantly bending my neck or looking upward.
Taking regular breaks is another simple habit I find useful. Even with a properly configured monitor, staring at a screen continuously for a long period can make my eyes feel tired.
Test the Monitor With Your Favorite Games
After completing all the settings, I test the monitor with the games I actually play.
I do not rely only on menus or desktop usage. Different games can reveal different problems.
Fast competitive games are useful for checking motion clarity and responsiveness. Story games can help me judge colors, contrast, shadows, and overall image quality.
I spend some time testing the settings and make small changes when necessary.
Final Thoughts
Setting up a gaming monitor correctly does not require complicated technical knowledge. In my experience, the most important things are getting the physical position right, selecting the native resolution, enabling the highest supported refresh rate, configuring variable refresh rate features, and adjusting brightness and picture settings comfortably.
I also believe that there is no universal monitor setup that works perfectly for every gamer. My preferred brightness, colors, response time, and game settings may be different from someone else’s.
The best approach is to start with the monitor’s recommended settings and then make small adjustments based on your games, hardware, room lighting, and personal preferences.
A properly configured gaming monitor can make your entire gaming setup feel better. Once everything is adjusted correctly, I can focus less on the technology and more on enjoying the games themselves.